
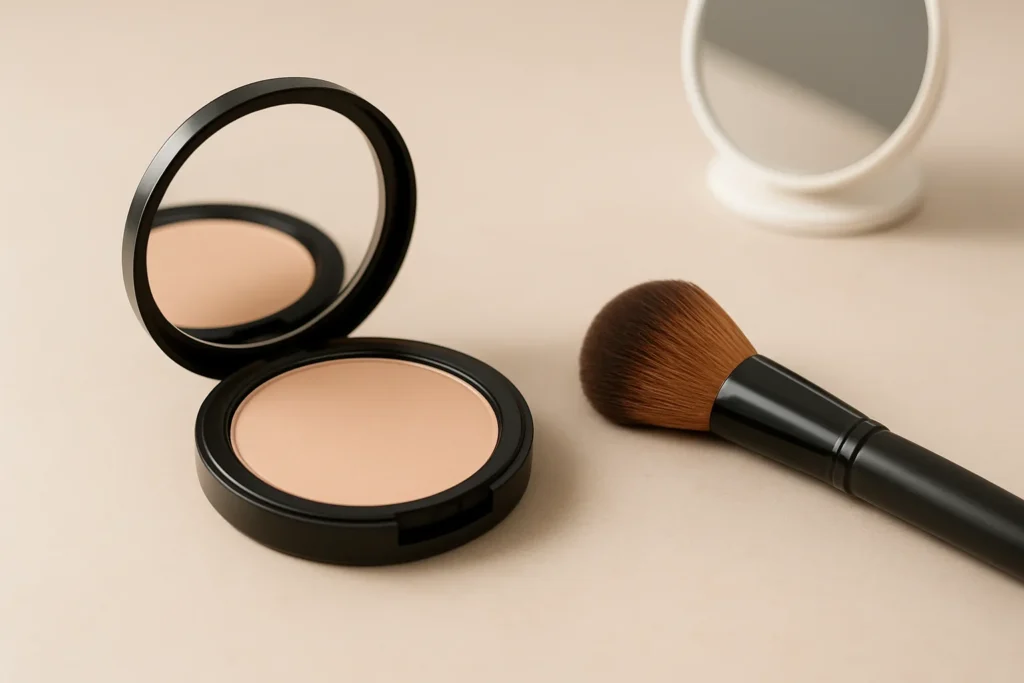
The Best Pressed Powder for Beginners: A Quick Guide to Flawless Skin
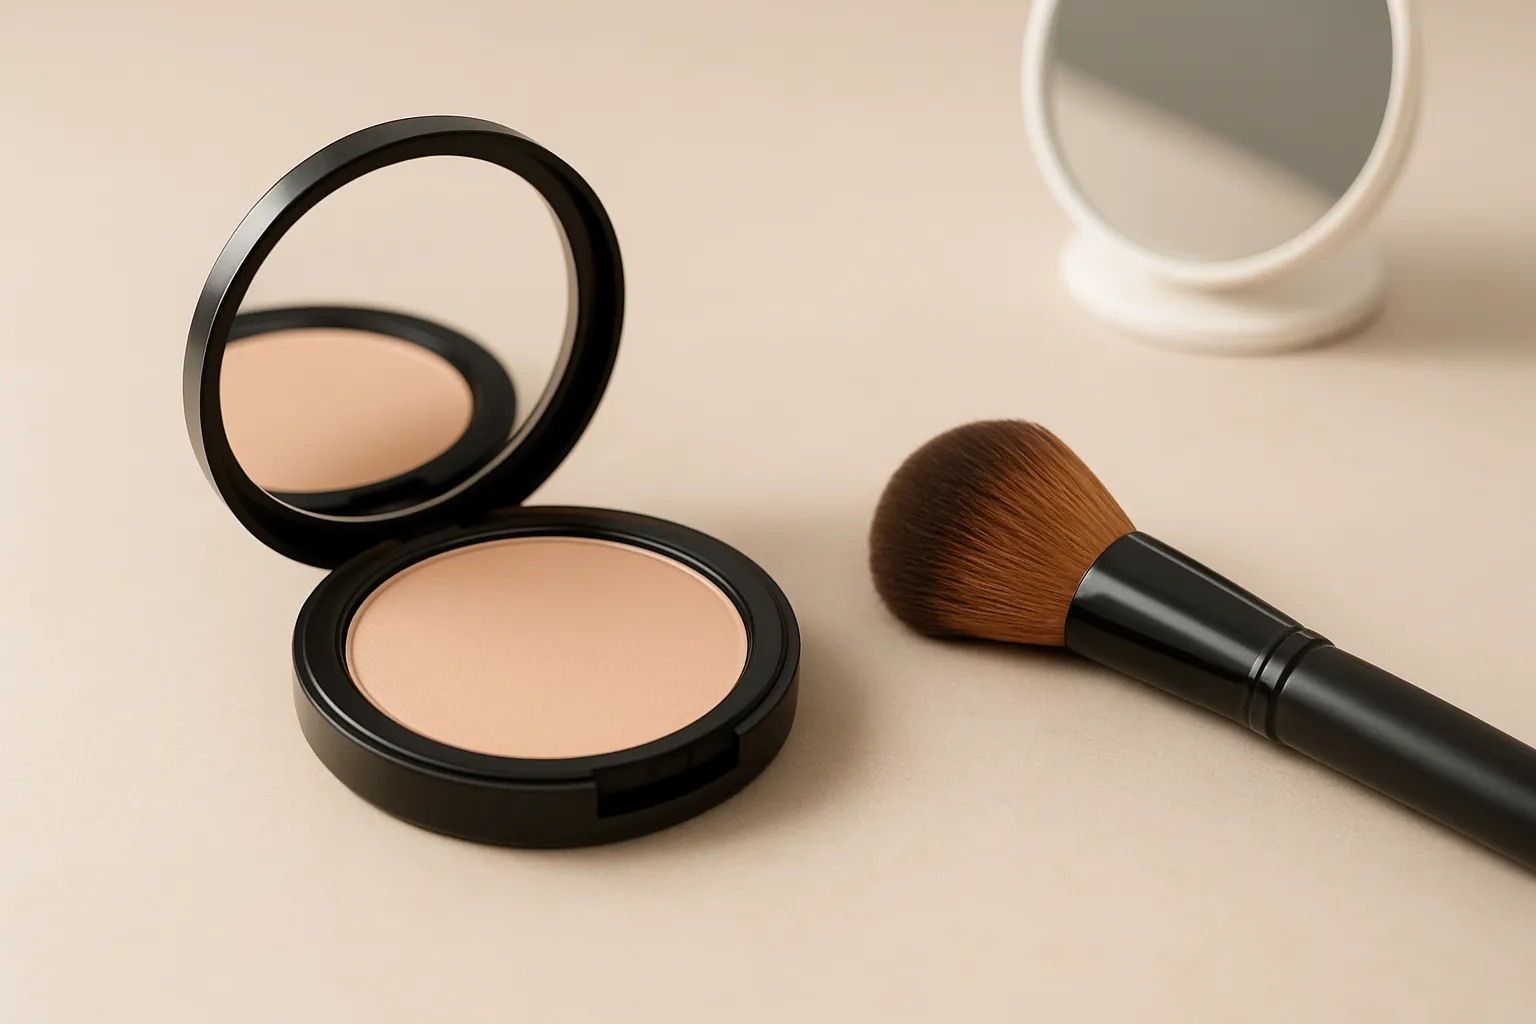
Finding the best pressed powder can be daunting for beginners aiming for a flawless complexion. The right product sets makeup and enhances your skin’s natural beauty. Key factors to consider include skin type, desired finish, and application technique. This guide simplifies the process, ensuring you choose a pressed powder that complements your skin and meets your needs.
Choosing the Right Pressed Powder
When selecting the best pressed powder, consider your skin type, coverage, and finish:
- Skin Type: Identify if your skin is oily, dry, combination, or sensitive. Oily skin benefits from a matte finish, while dry skin may prefer a dewy finish.
- Coverage Level: Light coverage powders offer a natural look; full coverage options mask imperfections. Many powders provide buildable coverage.
- Finish: Choose between matte and dewy finishes based on your preferences. Matte finishes control oil, while dewy finishes add glow.
- Shade Matching: Test powders on your jawline under natural light. A shade slightly lighter than your foundation can brighten your complexion.
- Ingredients: Check for talc-free options or those with skincare benefits if you have sensitive skin.
Avoid common mistakes like selecting a shade based solely on your arm’s color or assuming all powders work for all skin types. Test different formulas and ask for samples.
Step-by-Step Guide to Applying Pressed Powder
To achieve a flawless finish, follow this structured application process:
- Gather Tools: Use a soft brush for light application or a makeup sponge for more coverage.
- Prep Skin: Start with clean, moisturized skin. Apply foundation or primer for a smooth base.
- Apply Powder: Dip your brush or sponge into the pressed powder. For brushes, tap off excess to avoid caking. Lightly dust over your face, focusing on the T-zone.
- Using a Sponge: Gently press the powder onto areas needing extra coverage.
- Touch-Ups: Keep a compact and a small brush or sponge for touch-ups. Blot oils with tissue before reapplying to avoid a cakey look.
Common mistakes include applying too much product or neglecting to set makeup with a spray, leading to a dull finish.
Comparison of Top Pressed Powders
Understanding the features of various products can significantly impact your choice. Below is a comparison of popular options:
| Pressed Powder | Skin Type | Key Features | Price Range | Benefits |
|---|---|---|---|---|
| Maybelline Fit Me | Oily/Combination | Lightweight, matte finish | $6-$10 | Controls shine and provides a natural look. |
| Laura Mercier Translucent | All skin types | Fine texture, sheer coverage | $38-$50 | Sets makeup without looking cakey. |
| L’Oreal Infallible | Normal/Oily | Long-lasting, built-in SPF | $10-$15 | Provides sun protection and a matte finish. |
| Clinique Stay-Matte | Oily | Oil-free, non-acnegenic | $30-$35 | Prevents breakouts while controlling oil. |
| Fenty Beauty Pro Filt’r | All skin types | Wide shade range, soft matte | $34-$36 | Inclusive options for various skin tones. |
Common Mistakes to Avoid with Pressed Powder
Beginners often make a few key mistakes:
- Applying Too Much Product: Start with a light dusting using a fluffy brush. Build coverage gradually.
- Neglecting Skincare Prep: Always prep your skin with moisturizer and primer to create a smooth canvas.
- Mismatching Shades: Test the pressed powder on your jawline in natural light.
- Using the Wrong Tools: A brush provides a more diffused finish than a sponge.
- Ignoring Skin Type Considerations: Choose a powder that suits your skin type for the best results.